Last week I posted an article on how to decide if you were ready for Total Knee replacement. This is a follow on to that. You and your doctor decide that it IS time for a total knee replacement. Remember there are things you should try first AND don’t be afraid to check with more than one doctor.
I had 2 very different experiences with 2 different doctors for the same knee!!! Their approach to the surgery was even very different. Who knew???
Dr 1 procedure (traditional):
- All the normal pre surgery tests need to be done to determine if you are healthy enough for the surgery. For me – chest X-Rays, EKG and bloodwork
- Get any prescriptions needed after surgery beforehand
- Enter hospital
- Determine anesthesia – general, spinal or regional nerve block. Any anesthesia has risk but PUT ME OUT!
- Surgeon makes an incision (6-10 inches )over the front of the knee to expose the joint
- Replace the damaged tissue with new components that mimics your original knee
- After surgery you will have pain (that’s normal) but the dr may give you a nerve block during the surgery to help with immediate pain
- Your knee might be placed in a continuous passive motion machine (CPM) that will extend and flex your leg while lying down.
- Recovery – most people will be up walking within 24 hrs with the aid of a walker. They like to get you moving quickly.
- You will be helped with learning to walk and how to navigate
- Most people are discharged (pending no issues) 2-3 days after surgery
- Physical Therapy continues for several weeks. You really need someone to help you at home or do rehab in a nursing facility for a short time depending on how much you can do yourself.
- Sometimes you need a CPM machine to use at home to increase knee motion
- Most people recover with 3 months although for some it may take 6 months. I’ve seen both.
Dr 2 procedure (this is what I went with):
- Counseling about the procedure. I was given a book that was required reading and given a CD where I could watch how the surgery was to be done (Ummmm, no NOT for ME – didn’t care)
- Steps from pre surgery tests to surgery were the same but please note that much of the surgery done by this dr is done in a medical facility unless patient has potential complications that might require hospital involvement but due to COVID, the facility was not open so I did use the hospital.
- BIG DIFFERENCE – Procedure is done as OUTPATIENT surgery!
- Dr gave me a pain block during surgery so I didn’t feel pain for a while.
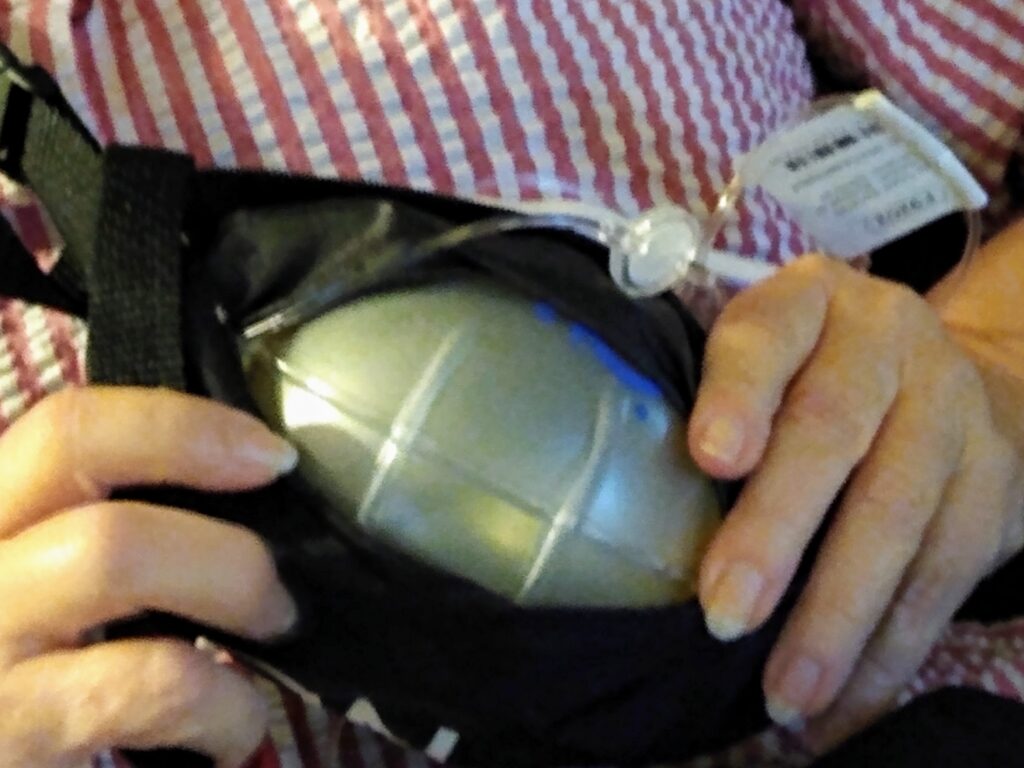
- I also went home with a medicine ball that was attached to a tiny catheter in my thigh. I could turn the dial on the ball and get pain meds. Theoretically you can take the catheter out yourself after 4 days but I had to call an EMT friend to do it while I was distracted.
- No machines, I woke up from anesthesia and was on a walker immediately.
- The book I was initially given had exercises in that I was required to do when I got home. NO PHYSICAL THERAPY. I will list these exercises below.
- This seems to be a fairly new procedure and it is called “SwiftPath”
- The BAD thing about this is that it is not done in very many places yet. Not to sound cynical, but the other procedure, while it achieves the same results, costs quite a bit more for the Hospital stay plus Physical Therapy.
Having said that, you MUST be diciplined to DO THE exercises HOURLY! My mother in law did not and she is still having issues. These exercises are from Allina Health but I modified them to be he same as the ones I was given. I was given access to a video and website after surgery with all the information/exercises I needed.
Exercises:
For Swelling
Rest and elevate
- Lie down with your surgical leg at or above the level of your heart for 20 minutes.
- You may place two to three pillows lengthwise beneath your surgical leg if you have an increase in swelling. Call your surgeon if you are concerned about the amount of swelling you have or if your swelling does not improve.
Ice
- While you are resting and elevating, place cold packs around your knee for 15 to 20 minutes at a time.
- Place a clean, dry towel or pillowcase between your skin and the cold pack.
Do the following exercises each 10 times each hour. Takes about 20 min.
1-Ankle pumps and circles
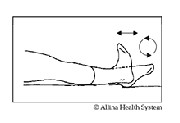
Pump your feet up and down by pulling your feet up toward you, then pushing your feet down away from you.
2-Knee straightening stretch (sitting knee extension)
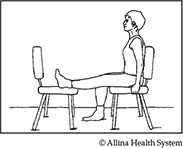
Sit on a sturdy chair with your lower leg on an equal height chair or solid surface in front of you. Relax your muscles to let your knee straighten. You should feel a gentle stretch on the back of your knee.
3-Knee bending stretch (sitting knee flexion)
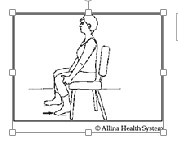
Step 1: Sit toward the front of a sturdy chair. Bend your knee by slowly sliding your foot back-and-forth, resting briefly as needed. Try to move your foot back farther each time as you are able. You can use your hands to help. Do this for a few minutes as a warm up. You may want to use a plastic bag under your foot to help it slide easier.
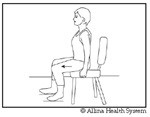
Step 2: Slowly bend your knee back until you feel a gentle stretch. Scoot your body forward on the chair to increase the stretch as you are able. Your heel may lift from the floor but do not lift your hip. Hold for 20 to 30 seconds. Return to the starting position and relax.
The stretching should be more slow and gentle than fast and forceful. Try to keep your muscle relaxed throughout the exercise.
4-Heel slides (hip and knee flexion)
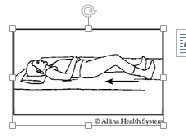
Bend your surgical hip and knee by sliding your heel up toward your buttocks while keeping your heel on the bed. Slide your heel back down to the starting position and relax. Keep your kneecap pointed up toward the ceiling during the exercise. You may want to use a plastic bag under your heel to help it slide easier.
5-Leg slides (abduction/adduction)
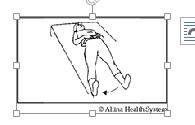
Slide your surgical leg out to the side, keeping your kneecap pointed up toward the ceiling. Slide your leg back to the starting position. You may want to use a plastic bag under your heel to help it slide easier.
If you’re like me, you look at this and say that’s 40 min out of EVERY HR of the day that I’m awake!!!!! WOW. That’s a LOT. It is but it is SO worth it. Just think of all the time/money you save by NOT going to PT.
6-Walk
You might have to use the walker, but make sure you walk around as much as possible.
PLEASE BEWARE. There are a couple GRAPHIC photos here (at least to me). Perhaps I’m just squimish. I don’t even do blood very well.
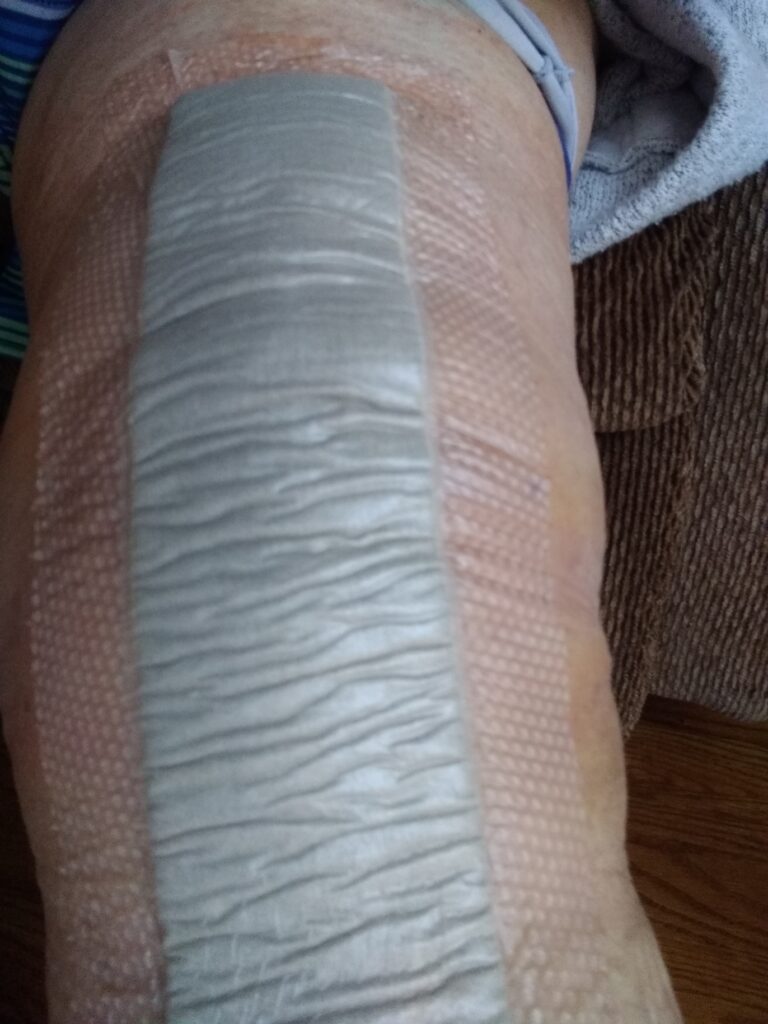
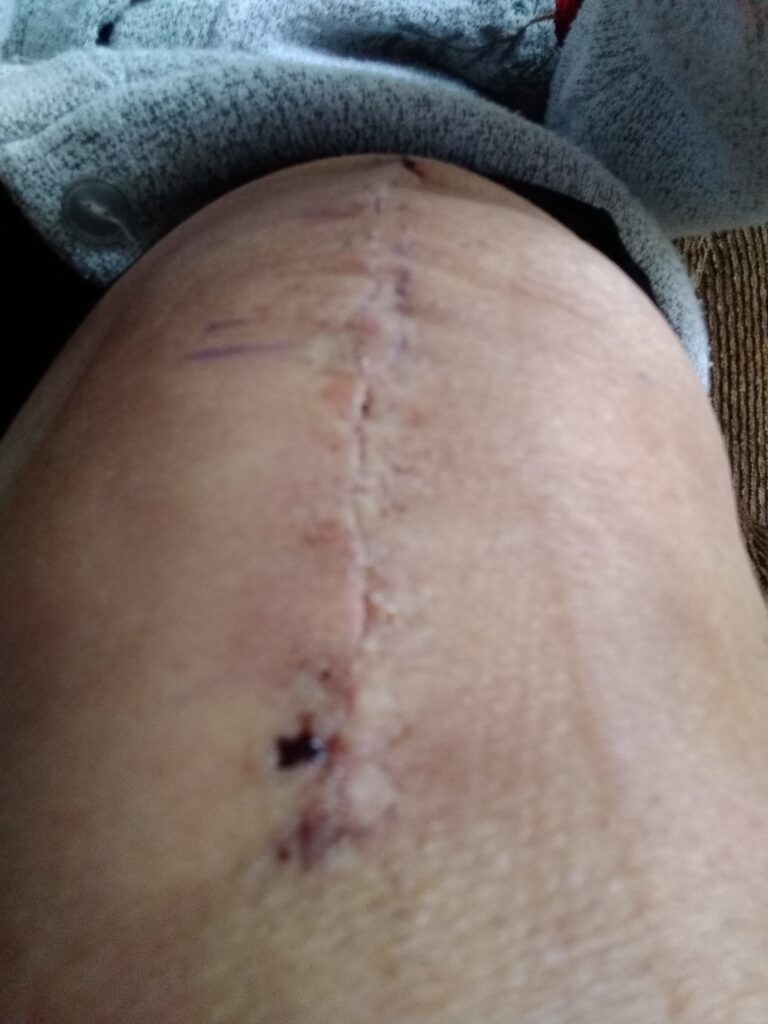
Meds/Supplements: 7 days before surgery I was asked to stop NSAIDs and my Vit E. Of course, you’ll have to tell the dr all the meds/supplements you take and the dr can work out what’s best for you and your situation.
The meds/supplements I had to take after were very minimal. Tramadol for pain, Extra Strength Tylenol, Gabapentin (an anti-convulsant), Meloxicam (anti inflammatory) and Vit D.
These are MY 2 experiences with 2 different doctors. The first doctor I used for my hip replacement and it went very well.
The second dr I found through a friend and I was VERY pleased. I do understand not everyone can GET to a dr that uses the SwiftPath approach. It’s not a common procedure yet. Maybe you’re not even comfortable with this approach. Everyone is different. After talking to a friend of mine, she felt better using a doctor who used the traditional approach but she did the exercises that I did and that’s working really well for her. You MUST be comfortable and confident with your doctor!
As I said last time, this is MY experience. Many people have asked me about it so I wanted to share with all of you. If I can give you some insight into all of this or some other options to think about — great, I’ve accomplished my purpose.
How to prepare for home recovery:
-If you live in a multistory house, have a space on the ground floor when you first get home. I went upstairs after the first week
-Free the space of any obstruction such as area rugs, furniture or clutter
-Make sure you have good handrails where needed
-Think about a grab bar in the shower
-Also think about a raised toilet seat if you’re really having issues
If you do the exercises and walk, you should be back to “normal” in no time. They still suggest you don’t run or jog although that’s not an issue for me. I’m only going to run if someone is chasing me with a knife!!!!! It does feel weird, but I can even kneel on mine but I’m gentle.
I understand that the quality of these replacement knees has improved and they should last for a number of years. It feels SOOO good to be able to hike again without pain. I’m so glad I did it.
PLEASE NOTE once again: This is NOT medical advice, this is from MY experience. Knee Replacement is an important decision and it should be made with your doctor!
I hope this helped you. PLEASE let me know if you have any questions. The whole purpose of my site is to exchange information and/or help.
Comments/Thoughts are welcomed and encouraged.
Hugs
~Debbi